
In my homelab, a Lenovo ThinkCentre M920 (i5, 32GB RAM) handles a few background jobs. One of them is a self-hosted GitHub Actions runner running inside a Proxmox LXC.
I wanted this runner isolated from the rest of the host, but still able to run Docker-based jobs. An LXC is enough for that in my setup: small, easy to rebuild, and simple to keep online with systemd.
Private repositories only
GitHub recommends using self-hosted runners only for private repositories, as public repos pose security risks.
What This Setup Covers
The flow is:
- create an LXC with Docker available
- create a dedicated
runneruser - register the runner in GitHub
- run a small workflow to verify it picks up jobs
- install it as a systemd service
- optionally add pre/post job hooks
Setting up the server
In Proxmox, I created a new LXC container with Docker pre-installed:
bash -c "$(curl -fsSL https://raw.githubusercontent.com/community-scripts/ProxmoxVE/main/ct/docker.sh)"Disk space
Depending on the actions you plan to run, I recommend allocating at least 8GB of disk space.
Once the container is ready, create a dedicated user for the runner:
root@runner-server:~$ useradd -m -G sudo -s /bin/bash runner
root@runner-server:~$ sudo passwd runner
If the runner will execute Docker builds, add that user to the docker group:
root@runner-server:~$ sudo usermod -aG docker runnerLog in as runner and verify Docker access before registering anything in GitHub:
runner@runner-server:~$ docker info
Client: Docker Engine - Community
 Version:    28.0.4
 Context:    default
 Debug Mode: false
 Plugins:
  buildx: Docker Buildx (Docker Inc.)
    Version:  v0.22.0
    Path:     /usr/libexec/docker/cli-plugins/docker-buildx
  compose: Docker Compose (Docker Inc.)
    Version:  v2.34.0
    Path:     /usr/libexec/docker/cli-plugins/docker-compose
Creating the runner
In the repository, go to Settings -> Actions -> Runners and click “New self-hosted runner”.
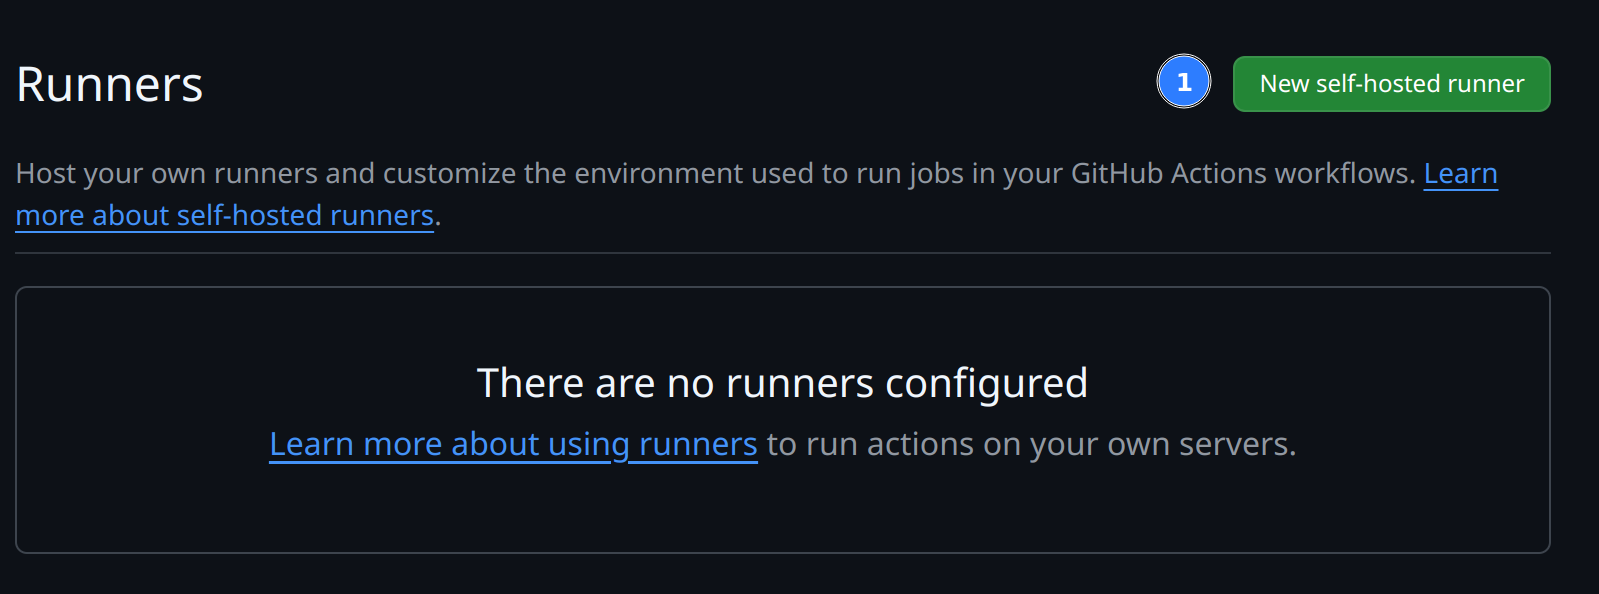
Choose the operating system and follow GitHub’s commands to download and configure the runner.

When setting up the runner, GitHub will prompt you for the following:
Group name
Enter the name of the runner group to add this runner to: [press Enter for Default]If you have multiple runners, you can group them. I keep this one in the default group unless I need repository-specific routing.
Runner name
Enter the name of runner: [press Enter for runner-server]This is the name that appears in GitHub when the runner is idle or executing a job.
Labels
This runner will have the following labels: 'self-hosted', 'Linux', 'X64'
Enter any additional labels (ex. label-1,label-2): [press Enter to skip]
Labels are how workflows target a runner. For this LXC, labels like docker or lxc are useful if you have more than one self-hosted machine.
jobs:
  build:
    # The type of runner that the job will run on
    runs-on: [self-hosted, Linux, X64, label-1]
Labels matter
Labels are how your workflows find the right runner. If you have multiple runners with different capabilities (e.g. one with Docker, one without), use labels to route jobs to the correct machine.
Work folder
Enter name of work folder: [press Enter for _work]This sets the default working directory for workflow checkouts. I leave it as _work.
Once you’ve followed GitHub’s setup steps, start the runner. You should see something like this:
runner@runner-server:~/actions-runner$ ./run.sh
√ Connected to GitHub
Current runner version: '2.323.0'
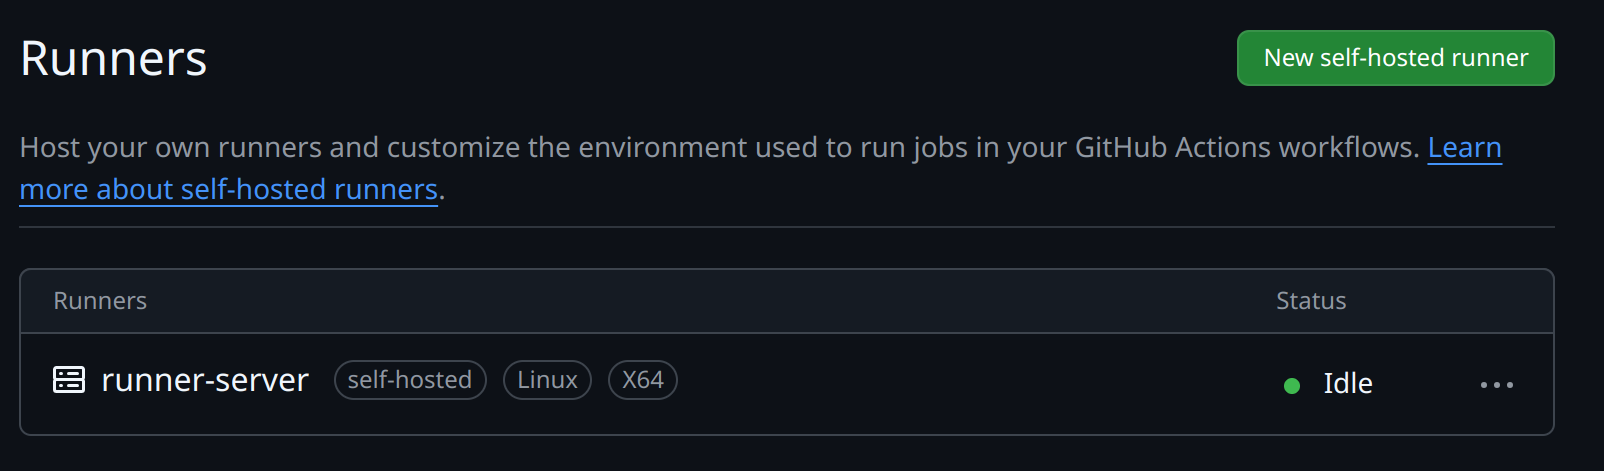
2025-04-10 12:16:52Z: Listening for JobsBack in Settings -> Actions -> Runners, the runner should appear as Idle.
With the runner registered, the next step is a test job.
Running a test job
For the first test, I use a tiny manual workflow:
on:
workflow_dispatch:
jobs:
build:
# The type of runner that the job will run on
runs-on: self-hosted
steps:
- uses: actions/checkout@v4
- name: Run a one-line script
run: echo Hello, world!
- name: Run a multi-line script
run: |
echo Add other actions to build,
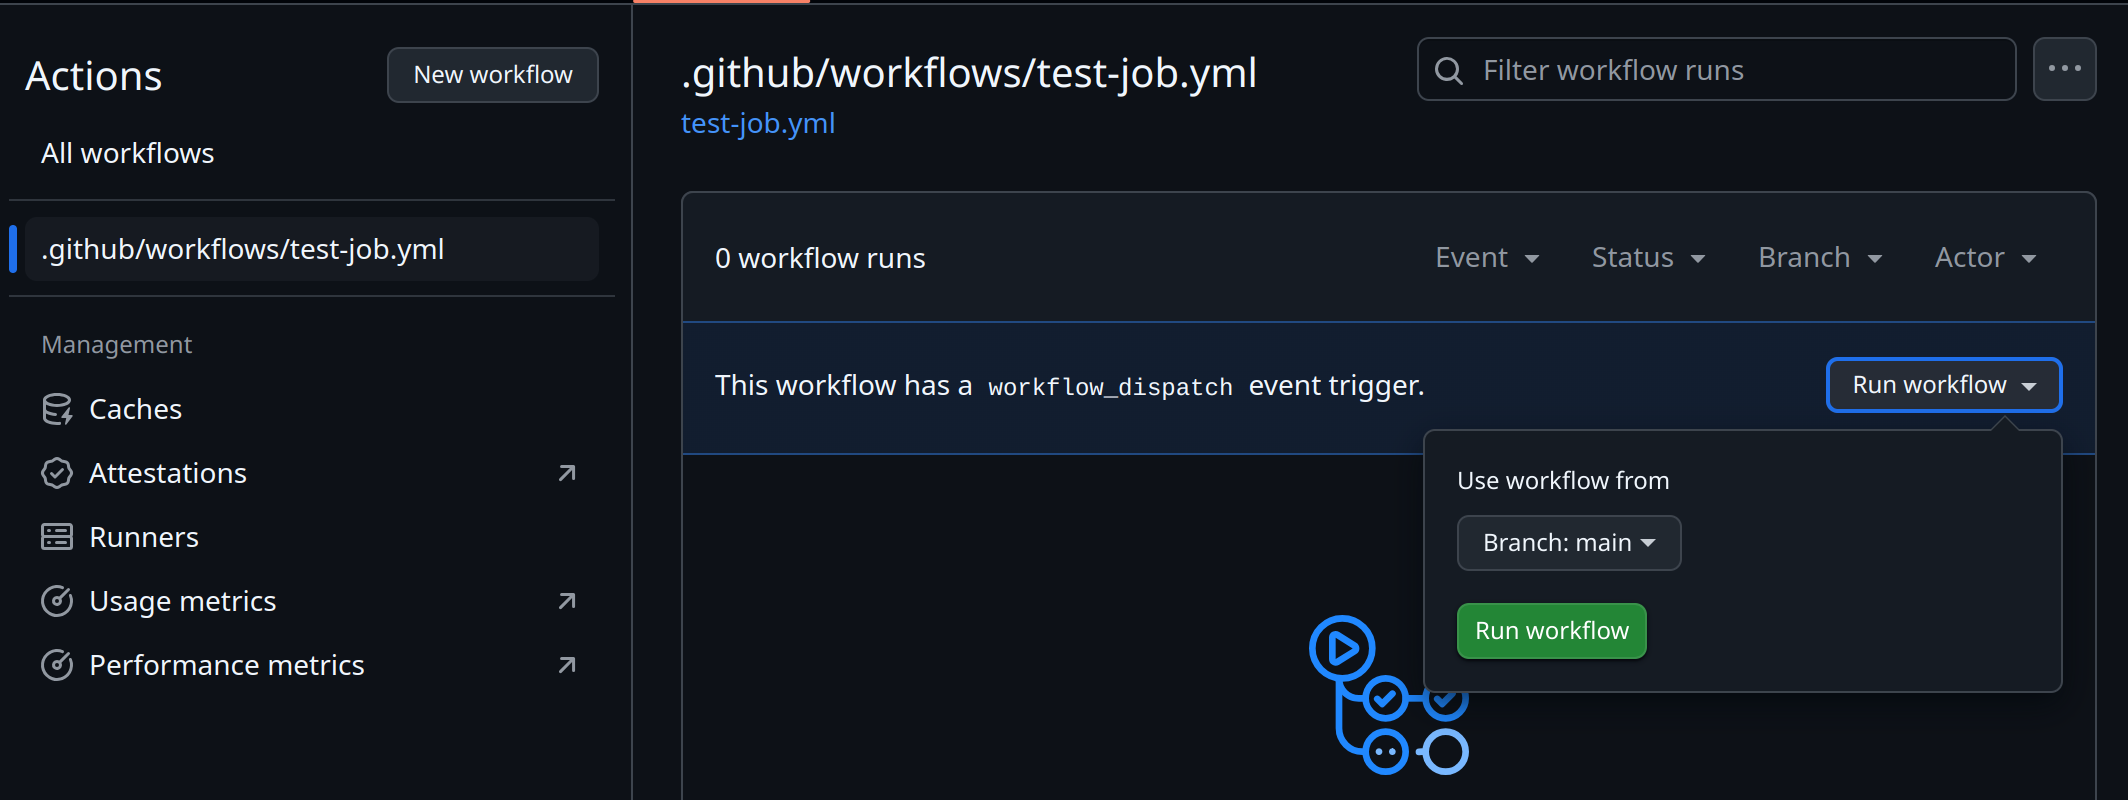
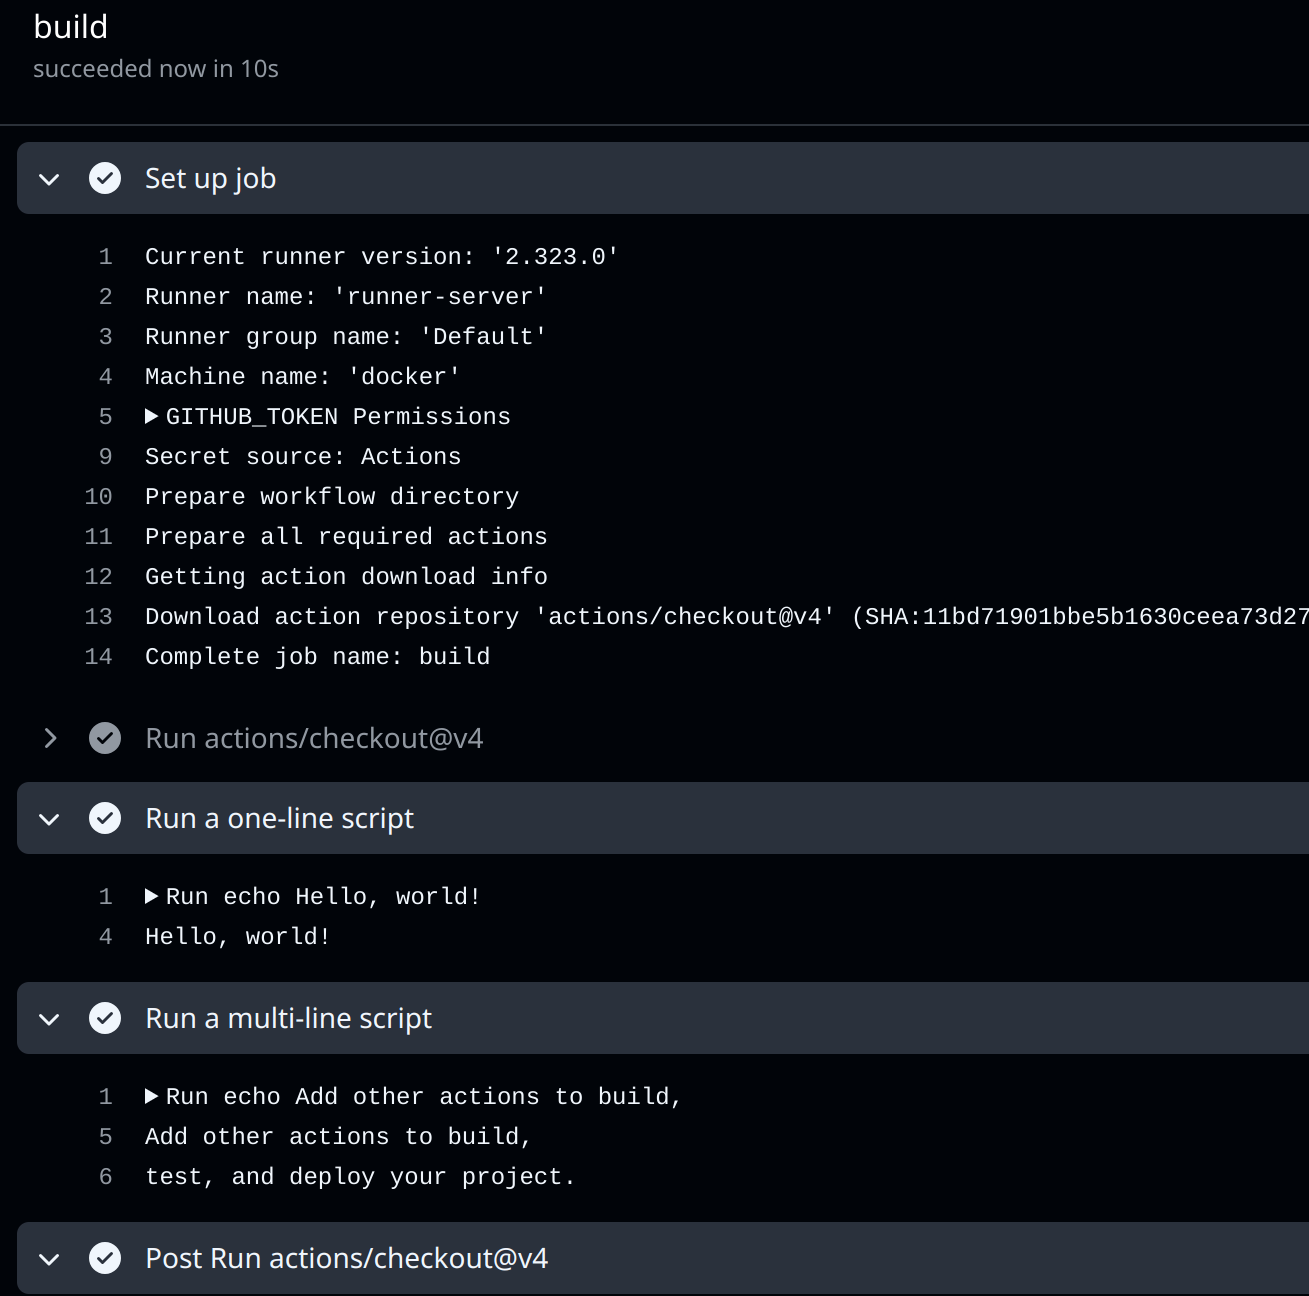
echo test, and deploy your project.After creating the workflow, open the Actions tab and trigger it manually with “Run workflow”.
You should see:
Requested labels: self-hosted
Job defined at: self-hosted-runner-test/.github/workflows/test-job.yml@refs/heads/main
Waiting for a runner to pick up this job...
Job is about to start running on the runner: runner-server (repository)
And in your runner-server:
runner@runner-server:~/actions-runner$ ./run.sh
√ Connected to GitHub
Current runner version: '2.323.0'
2025-04-10 12:41:12Z: Listening for Jobs
2025-04-10 12:42:16Z: Running job: build
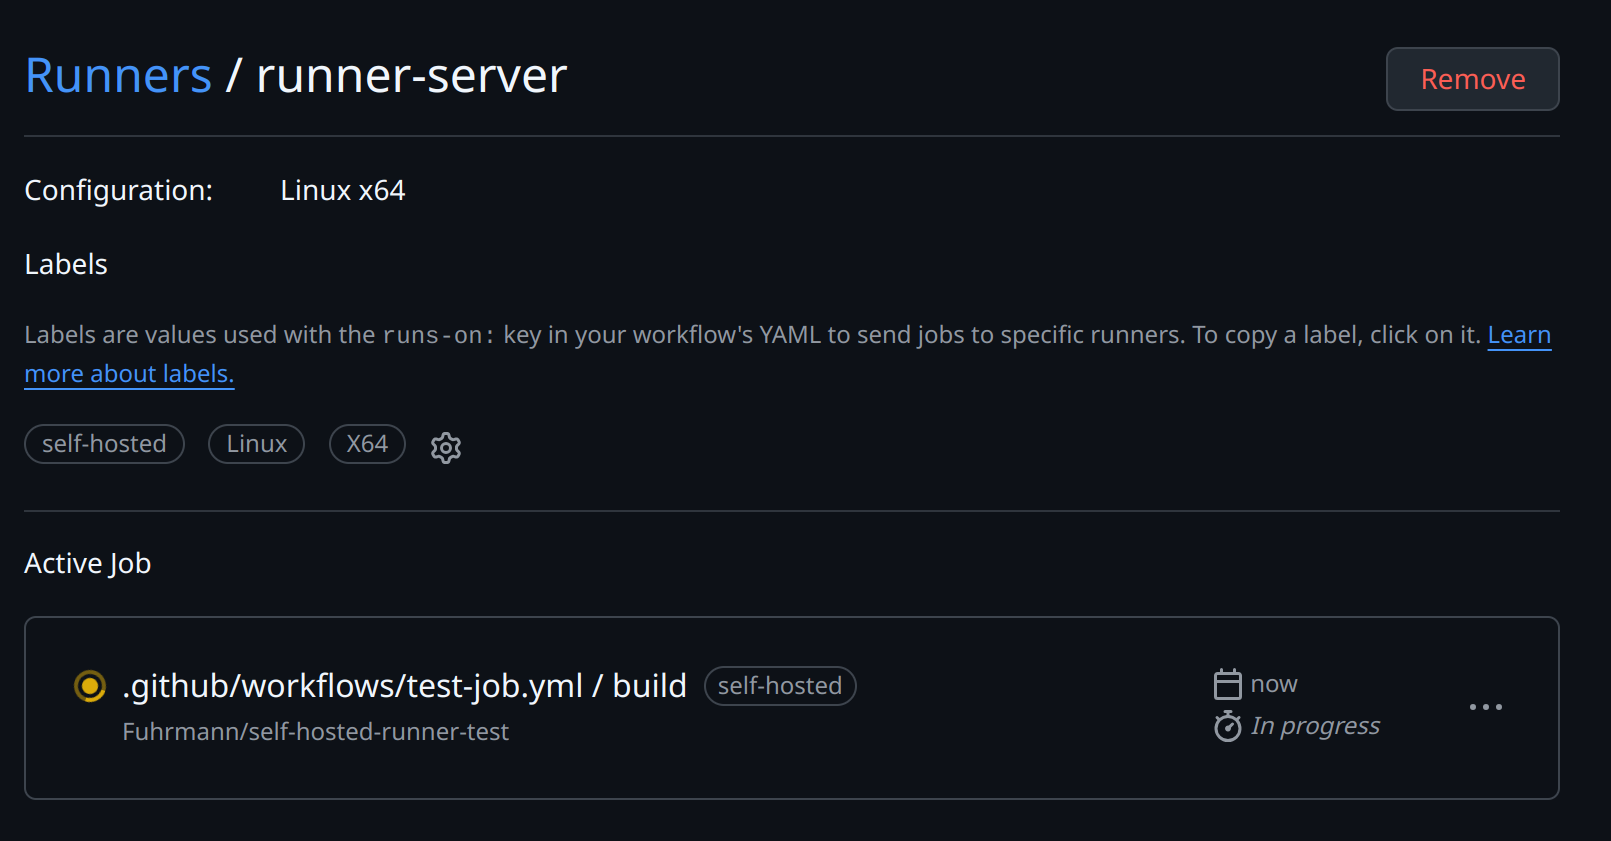
2025-04-10 12:42:29Z: Job build completed with result: SucceededGitHub also shows the current job on the runner page:
Running as a service
After the manual test works, install the runner as a service:
./svc.sh install USERNAMESince the runner runs as the runner user:
runner@runner-server:~/actions-runner$ sudo ./svc.sh install runner
[sudo] password for runner:
Creating launch runner in /etc/systemd/system/actions.runner.self-hosted-runner-test.runner-server.service
Run as user: runner
Run as uid: 1000
gid: 1000
Created symlink /etc/systemd/system/multi-user.target.wants/actions.runner.self-hosted-runner-test.runner-server.service → /etc/systemd/system/actions.runner.self-hosted-runner-test.runner-server.service.
Start the service:
runner@runner-server:~/actions-runner$ sudo ./svc.sh start

/etc/systemd/system/actions.runner.self-hosted-runner-test.runner-server.service
● actions.runner.self-hosted-runner-test.runner-server.service - GitHub Actions Runner (self-hosted-runner-test.runner-server)
     Loaded: loaded (/etc/systemd/system/actions.runner.self-hosted-runner-test.runner-server.service; enabled; preset: enabled)
     Active: active (running) since Thu 2025-04-10 08:50:00 -04; 11ms ago
   Main PID: 65251 (runsvc.sh)
      Tasks: 2 (limit: 38247)
     Memory: 1.6M
        CPU: 7ms
     CGroup: /system.slice/actions.runner.self-hosted-runner-test.runner-server.service
             ├─65251 /bin/bash /home/runner/actions-runner/runsvc.sh
             └─65253 ./externals/node20/bin/node ./bin/RunnerService.js

Apr 10 08:50:00 docker systemd[1]: Started actions.runner.self-hosted-runner-test.runner-server.service - GitHub Actions Runner (self-ho…nner-server).
Apr 10 08:50:00 docker runsvc.sh[65251]: .path=/usr/local/sbin:/usr/local/bin:/usr/sbin:/usr/bin:/sbin:/bin
Hint: Some lines were ellipsized, use -l to show in full.
Run long-lived runners as a service
For a runner that should stay online, I prefer systemd: it starts after reboot and restarts after crashes. I only use
./run.shfor quick testing.
Running scripts before/after
For jobs that need setup or cleanup, GitHub supports scripts before or after a job. The runner reads two environment variables:
ACTIONS_RUNNER_HOOK_JOB_STARTED: Runs before the job starts.ACTIONS_RUNNER_HOOK_JOB_COMPLETED: Runs after the job finishes.
Here is a dummy script. Save hooks outside the runner’s working directory so a checkout cannot overwrite them:
runner@runner-server:~$ cd ~
runner@runner-server:~$ echo 'ls -la' > list-files.sh
runner@runner-server:~$ chmod +x list-files.sh
Then create a .env file inside the runner directory:
runner@runner-server:~$ cd actions-runner/
runner@runner-server:~/actions-runner$ echo "ACTIONS_RUNNER_HOOK_JOB_STARTED=/home/runner/list-files.sh" > .env
runner@runner-server:~/actions-runner$ cat .env
ACTIONS_RUNNER_HOOK_JOB_STARTED=/home/runner/list-files.sh
If you’re running the runner as a service, restart it to apply the hook changes:
runner@runner-server:~$ sudo ./svc.sh stop
runner@runner-server:~$ sudo ./svc.sh start
You should see the script’s output in your build log:
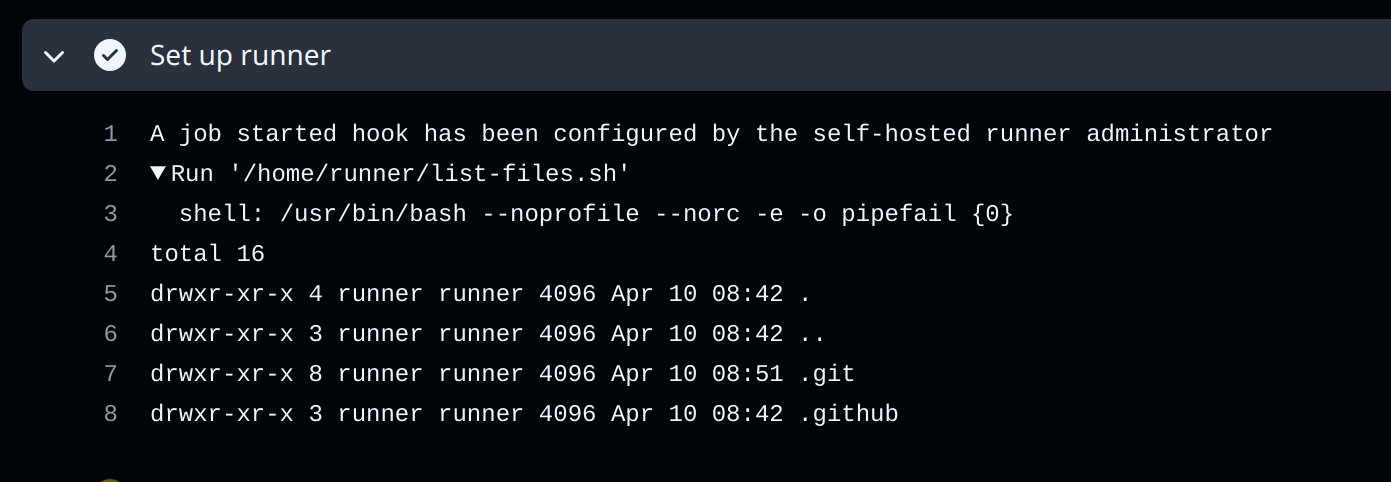
Common use cases for hooks
I use hooks for workspace cleanup, sending notifications, collecting metrics, or setting up environment variables that jobs depend on.
Things I Keep An Eye On
There are a few things I keep in mind when running a self-hosted runner:
Watch out
Keep these in mind
- Security & access control: Restrict which workflows can use your runner (e.g. disable forks, enforce branch protections), run it on a hardened host, and secure the runner’s registration token
- Updates & maintenance: You’re responsible for OS and software patches—keep the runner app up-to-date and automate workspace cleanup to avoid disk exhaustion
- Resource sizing & scaling: Make sure your machine has enough CPU, memory, and disk
- Networking & connectivity: The runner needs outbound access to GitHub’s APIs (and any artifact registries). If you’re behind a proxy or firewall, configure proxy settings and open required ports
- Workspace hygiene: By default each job clones into the working directory; auto-remove or periodically prune old workspaces to prevent disk bloat
- Storage: If your runner’s LXC needs access to shared storage from the Proxmox host, see how to share CIFS mounts with unprivileged LXC containers
Comments